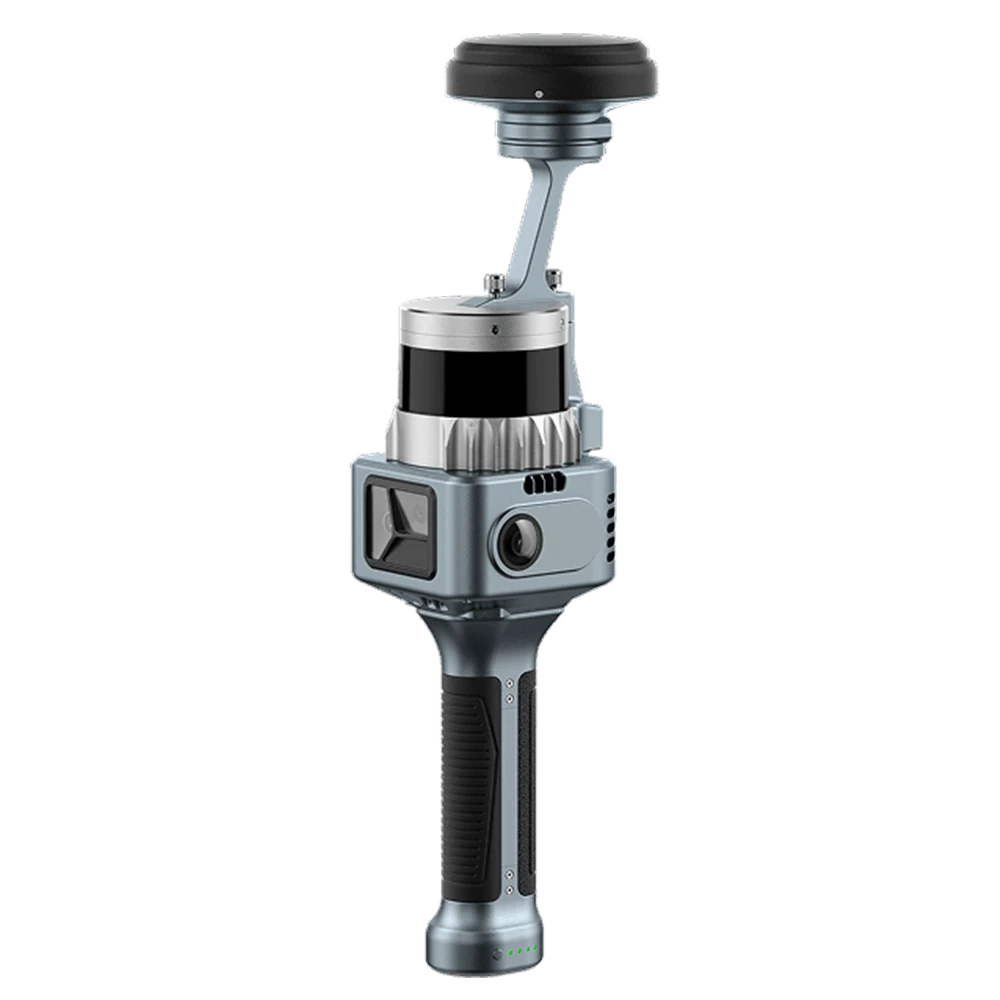
Scan-to-BIM turns a point cloud of an existing building into an editable BIM (building information modeling) model. With a handheld LiDAR scanner you walk the building, check the point cloud on site, export it, link it into your BIM software and model against it. This works best for interior as-built and renovation jobs where centimeter-level accuracy meets the project tolerance.
This guide gives the workflow in seven steps, explains what accuracy to expect, lists the file formats that matter for Revit, and shows which scanner fits which job. If you work in architecture, engineering and construction (AEC), you can see our handheld scanners with prices and specifications on the handheld LiDAR scanners page.
Why Use a Handheld Scanner for Scan-to-BIM?
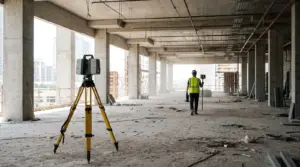
A handheld SLAM (simultaneous localization and mapping) scanner captures while you walk, so there are no repeated tripod set-ups. It reaches tight rooms, stairs and crawl spaces, and one person can run it. Geo Week News reported a test by a UK general contractor on a complex of buildings described as 57 meters wide: two employees with tripod scanners needed 32 field hours, and one employee with a handheld LiDAR needed 4. It is one test on one site, reported in 2020, so treat it as an example of what is possible, not as a typical result.
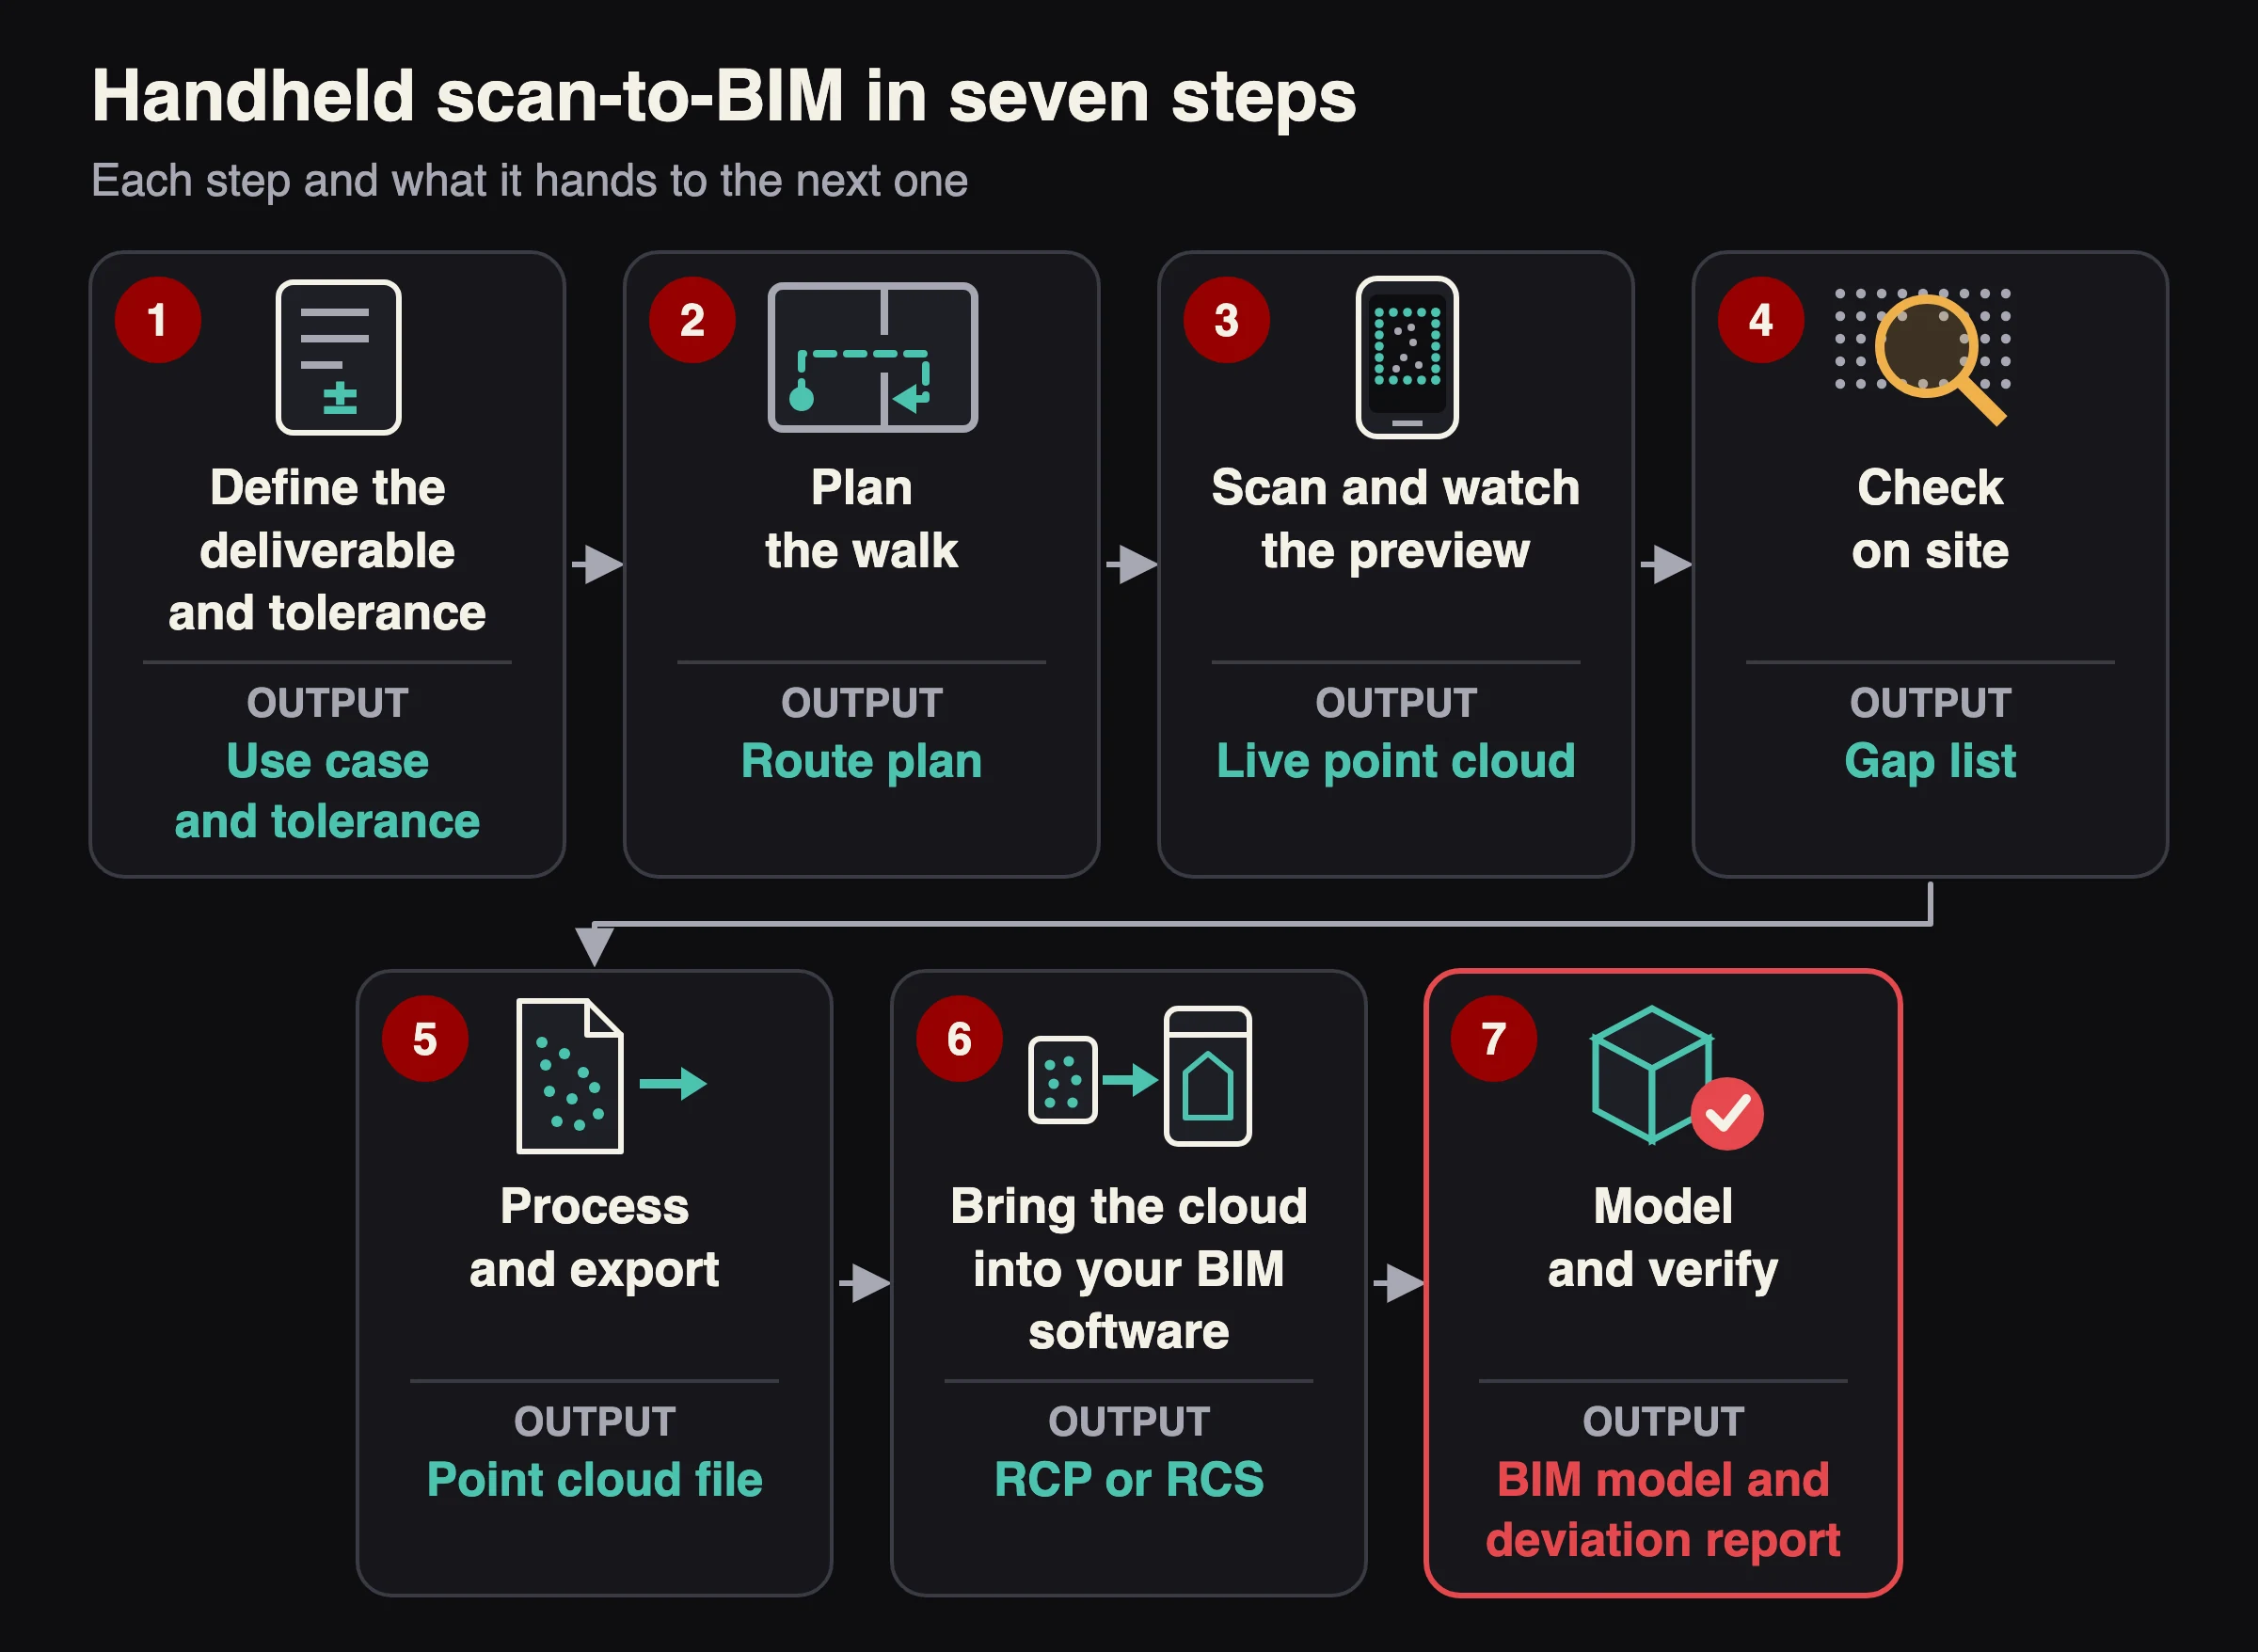
The Handheld Scan-to-BIM Workflow in Seven Steps
1. Define the deliverable and the tolerance
Decide what the BIM model must be used for before you scan: space planning, renovation design, coordination with new work, or fabrication. Each needs a different accuracy and level of detail. The USIBD Level of Accuracy (LOA) Specification, version 3.1, is a standard for documenting and verifying the accuracy of building documentation. It includes guidance on choosing a level from your required tolerance and on specifying tolerances with standard deviation.
2. Plan the walk
- Plan a route that covers every room, stair and level, with overlap between areas.
- Start and end at the same place, so the software can close the loop and limit drift.
- Walk at a steady pace, and slow down at doors and turns.
- If people are in the space, ask them to stay still for a minute or two as you pass. Geo Week News notes that handheld scanners can capture the full scene this way.
3. Scan and watch the preview
The SXMCA scanners send a real-time point cloud preview to your phone with SXMCA GO, with quick quality checks and device status while you scan. Use it to spot gaps before you leave.
4. Check on site
Look for missing ceilings, glass and mirrors, areas with few features, and anywhere the scan drifted. A short rescan on site costs far less than a return visit.
5. Process and export
SXMCA STUDIO handles one-click processing with optimization, editing and export in several formats. The SXMCA2 exports LAS, PLY and RCP, together with the RCS scan files that the RCP refers to. The SXMCA Lite exports LAS, PCD and PLY. LAS, PLY and PCD are common point cloud file formats. RCP and RCS are the project and scan formats that Revit links.
6. Bring the point cloud into Revit or your BIM software
Revit links point clouds in the RCP and RCS formats, according to its own documentation. If you insert a raw scan format instead, Revit indexes it first. An RCP groups multiple RCS scan files, so keep the RCS files together with the RCP when you share a project. If your scanner exports an RCP together with its RCS files, as the SXMCA2 does, you can skip the conversion. The SXMCA Lite lists LAS, PCD and PLY, not RCP or RCS. Insert its LAS file instead and let Revit index it, or convert the file first with point cloud software. Check which raw formats your Revit version accepts.
7. Model against the cloud and verify
Model walls, floors, openings and equipment against the point cloud, then check deviations. Verify the model against the cloud, and not only against drawings. Record your method and tolerance so the client knows what the model represents.
How Accurate Is Handheld Scan-to-BIM?
Two numbers matter: relative accuracy, which is how well a scan keeps its shape, and absolute accuracy, which is how well it sits in real-world coordinates. For the SXMCA Lite, CRATUS lists relative accuracy under 1 cm. For the SXMCA2, relative accuracy is better than 1 cm, absolute accuracy is under 5 cm, and point cloud thickness is under 1 cm. Absolute accuracy depends on how you close loops, on control points and, outdoors, on RTK (real-time kinematic satellite positioning).
Remember that the scan is not the model. The modeling step adds its own tolerance on top of the scan accuracy.
| Deliverable | What it needs | Handheld fit |
|---|---|---|
| Space planning and renovation concept | Overall room geometry and layout, centimeter tolerance | Strong |
| As-built model for design and coordination | Centimeter tolerance, complete coverage, verified deviations | Strong, with control points on larger buildings |
| Facade or large exterior with set coordinates | Real-world coordinates over long distances | Possible with RTK and control points; a terrestrial scanner or survey may be better |
| Prefabrication and tight fit-up | Millimeter tolerance | Use a terrestrial scanner or survey for control |
These are guidelines. Your contract or specification sets the actual tolerance.
Which SXMCA Scanner Fits Scan-to-BIM?
| Scanner | Best for | Key numbers | Output |
|---|---|---|---|
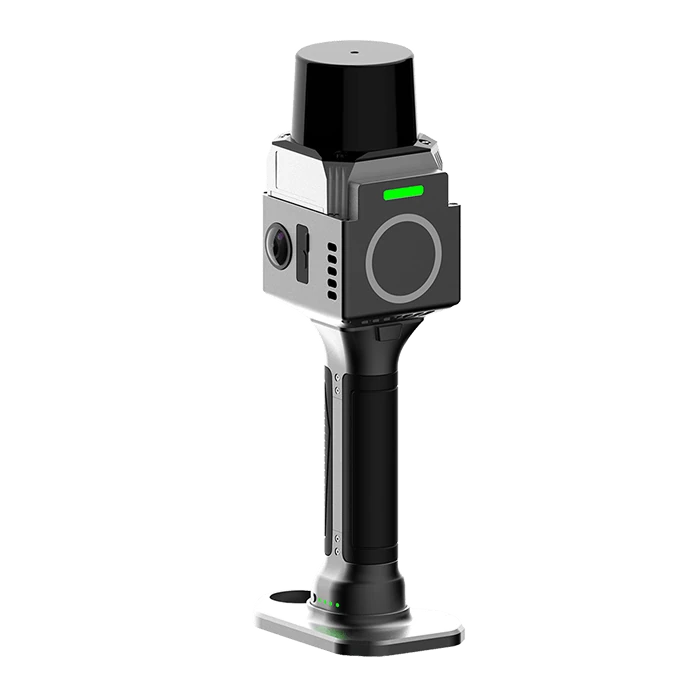
| SXMCA Lite ($6,300) | Interior AEC and BIM work at short to mid range | Relative accuracy under 1 cm, 216,000 points/s, 0.1 to 40 m at 10% reflectivity and up to 70 m at 80%, IP5X, 110 min | LAS, PCD, PLY |
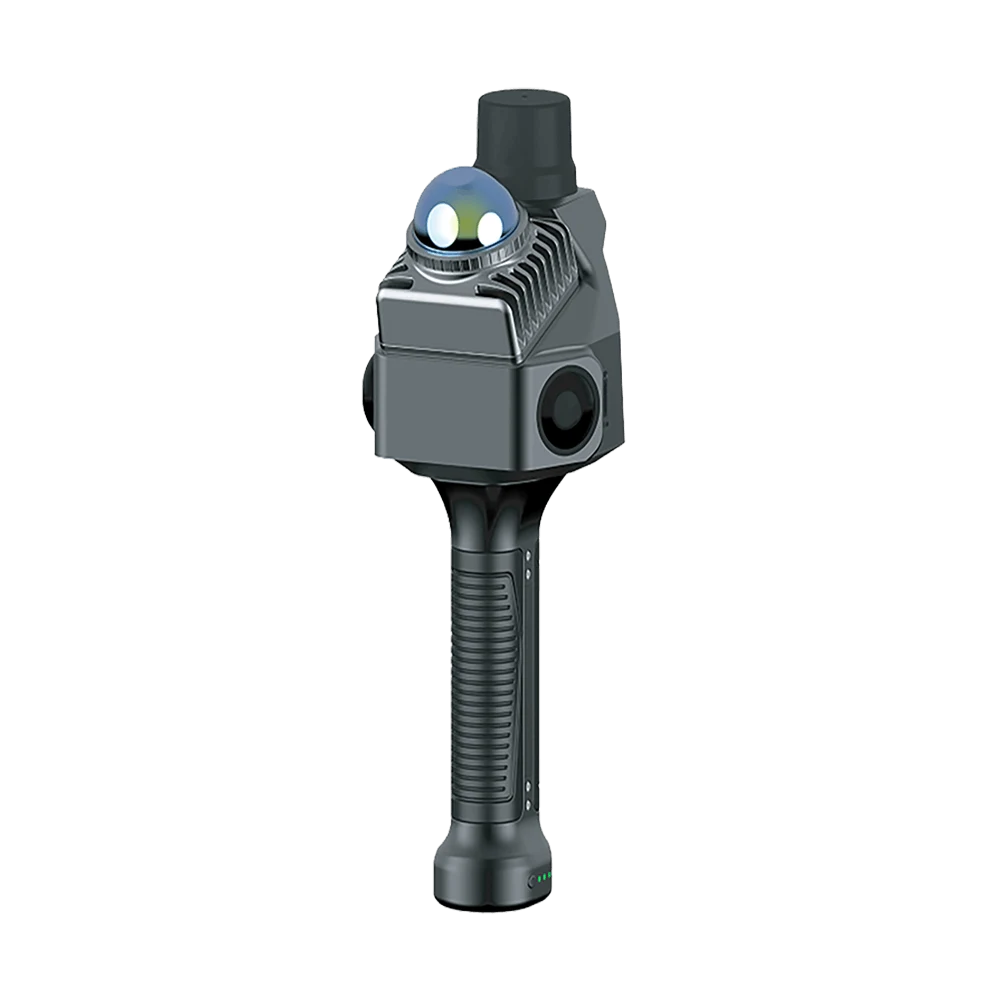
| SXMCA2 ($9,750) | Construction, survey and mapping with RTK, and a direct Revit path | Relative accuracy better than 1 cm, absolute under 5 cm, 200,000 points/s, IP54, 100+ min, RTK built in | LAS, PLY, RCP (with its RCS scan files) |
| SXMCA PRO (quote) | Dense, long-range capture | Up to 200 m range, up to 5.2 million points/s, about 5 mm point cloud precision (no accuracy figure is listed, so ask before using it for millimeter tolerances) | See product page |
Prices are DDP, so shipping and tariffs are included. Sales tax is added by purchase location. Compare them side by side on the handheld LiDAR scanners page.


Common Mistakes and How to Avoid Them
- No loop closure. Start and end at the same point to limit drift.
- Missing ceilings, floors and stairs. Plan the walk so each surface is seen from more than one angle.
- Glass and mirrors. They reflect or pass laser light. Capture them from several angles and expect to model them from other evidence.
- Moving people and equipment. Ask for a pause as you pass, or rescan.
- No control for large buildings. Add control points or RTK when absolute position matters.
- Huge files with no plan. Decide the point density and export format up front, and keep RCS files with the RCP.
- Modeling to the drawings, not the cloud. Always verify the model against the scan.
What to Deliver to the Client
- The BIM model, with the modeling tolerance stated.
- The registered point cloud in the agreed format, with the RCS files if you deliver RCP.
- A deviation or verification report against the cloud.
- The scan log: date, scanner, route, coordinate system and any control points.
Ready to see which scanner fits your projects? Compare the SXMCA models, or ask for a quote.
Sources
- Geo Week News: Handheld and mobile scanning for AEC, 7 reasons (May 20, 2020)
- USIBD: Level of Accuracy (LOA) Specification
- Revit documentation on point cloud files (RCP and RCS)
- CRATUS handheld LiDAR scanners page, specifications as published on each product page
Last updated: November 20, 2026. Prepared by the CRATUS engineering team.
Frequently Asked Questions
What is scan-to-BIM?
Scan-to-BIM is the process of turning a point cloud of an existing building into an editable BIM model. A scanner captures the building, software registers and cleans the point cloud, and a modeler builds walls, floors, openings and equipment against it.
Can a handheld LiDAR scanner be used for scan-to-BIM?
Yes, especially for interiors, as-builts and renovation. Handheld scanners capture while you walk and reach tight spaces. They are centimeter class, so check that the accuracy meets your project tolerance. For millimeter tolerances, use a terrestrial scanner or a survey for control.
How accurate is a handheld scanner for BIM?
The SXMCA Lite has relative accuracy under 1 cm. The SXMCA2 has relative accuracy better than 1 cm and absolute accuracy under 5 cm. The model adds its own tolerance on top of the scan, so state the accuracy of both.
Which file formats does Revit use for point clouds?
Revit links point clouds in the RCP and RCS formats, according to its own documentation, and indexes raw scan formats when you insert them. The SXMCA2 exports LAS, PLY and RCP, with the RCS scan files that the RCP refers to. The SXMCA Lite exports LAS, PCD and PLY, so insert its LAS file and let Revit index it.
How long does a handheld scan-to-BIM scan take?
It depends on the building. In one reported test by a UK general contractor, one employee with a handheld LiDAR needed 4 field hours, against 32 hours for two employees with tripod scanners. That was one site, so treat it as an example, not a guarantee. Field time is only the scanning part. Processing, registration checks and modeling take additional time.
How much does scan-to-BIM cost?
It depends on the size of the building, the level of detail and the accuracy the project needs, so there is no single price, and we do not publish service prices. For equipment, the SXMCA Lite is listed at $6,300 and the SXMCA2 at $9,750, both DDP with shipping and tariffs included. Sales tax is added by purchase location. The SXMCA PRO is quoted on request.
Which handheld scanner should I choose for BIM work?
For interior AEC and BIM work, the SXMCA Lite is the entry point. If you also work outdoors, or want a direct Revit path with RCP export, look at the SXMCA2, which has RTK built in. For the densest, longest-range capture, ask about the SXMCA PRO.